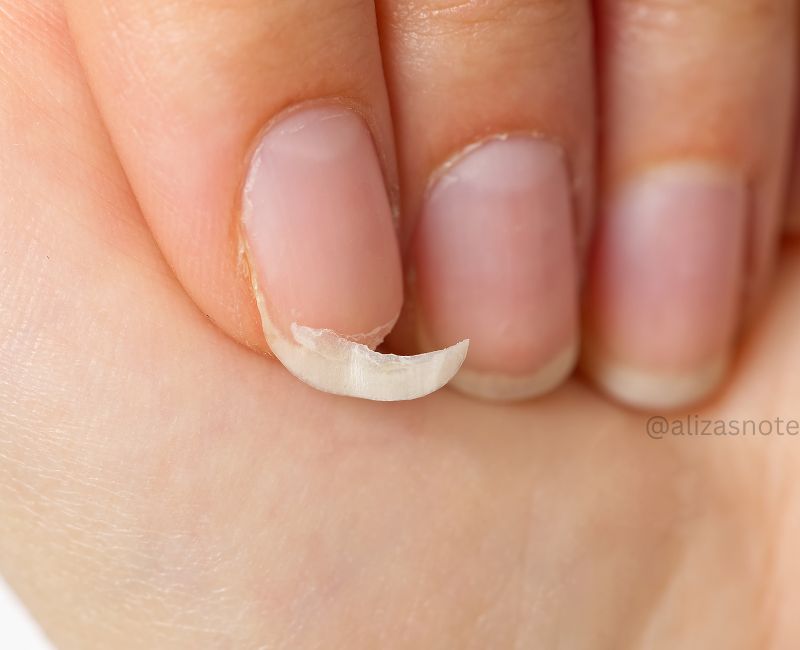
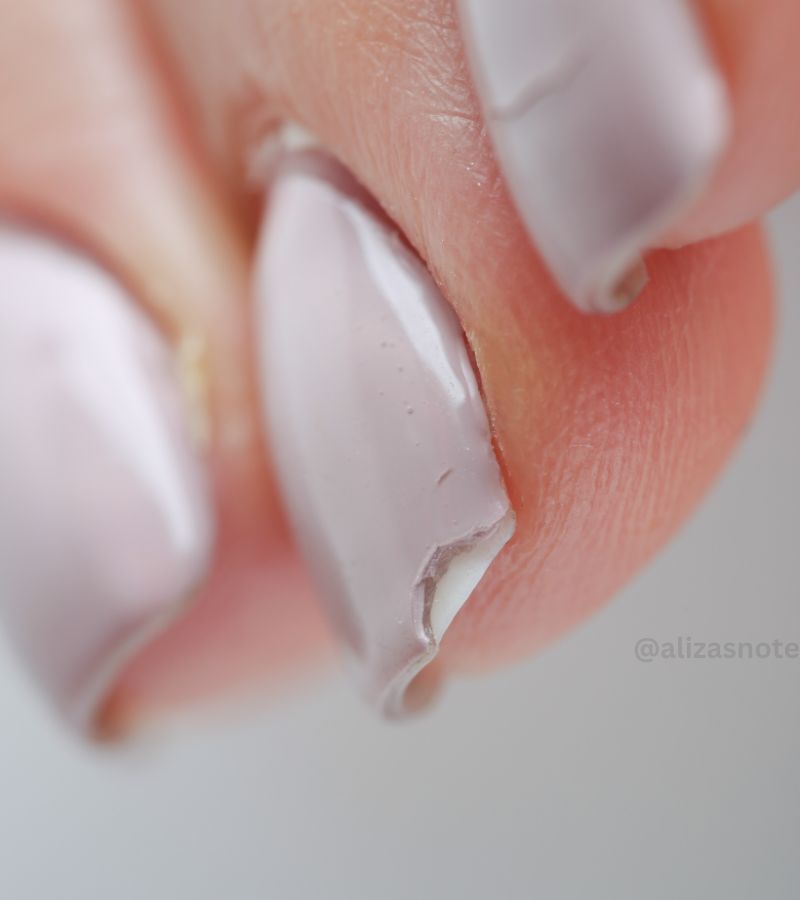
How To Fix A Broken Nail With A Tea Bag

The tea bag method works by reinforcing the broken area with a thin layer of tea bag material, creating a strong patch that holds your nail together. This technique is perfect for preventing additional splitting and giving your nail a chance to grow out naturally.
Before you reach for the answer about how to fix a broken nail with a tea bag, give this clever hack a try. Follow our detailed instructions and find how a simple tea bag can save your nail. Ready to learn this life-saving trick?
Materials Needed:
Before you begin repairing your broken nail, gather the following materials to ensure a smooth and effective process:
1. Tea Bag
Any standard tea bag will work, but choose one with a fine mesh for better blending with your nail. You’ll only need the bag material, not the tea leaves inside.
2. Scissors
Use small, precise scissors to cut the tea bag material to the correct size for covering the break.
3. Clear Nail Polish or Nail Glue
Clear nail polish is ideal for adhering the tea bag material to your nail and sealing it. For a stronger hold, especially if the break is severe, nail glue is a good alternative.
4. Nail Buffer or File
A nail buffer or file is essential for smoothing the patched area after applying the tea bag material, ensuring a seamless finish.
5. Tweezers (Optional)
Tweezers can help you accurately place the small piece of tea bag material over the broken area without causing additional damage.
6. Nail Polish Remover (Optional)
Clean your nail with nail polish remover before applying the patch. This ensures the surface is free of oils and old polish for better adhesion.
Having these materials ready will make the repair process quick and efficient, allowing you to restore your broken nail with minimal hassle.
How to fix a broken nail with a tea bag | Step-by-Step Guide:
Repairing a broken nail with a tea bag is a straightforward and effective solution. Follow these steps to restore your nail quickly:
Step 1: Preparation
Clean Your Nail: Remove any nail polish and clean the nail thoroughly with nail polish remover to ensure the surface is free of oils and old polish, allowing better adhesion.
Cut the Tea Bag: Empty a tea bag and cut a small piece of the bag material to cover the broken area of your nail. The piece should be slightly larger than the break.
Step 2: Application
Apply a Base Layer: Apply a thin layer of clear nail polish or nail glue over the broken area of your nail.
Place the Tea Bag Material: Using tweezers (if needed), place the cut piece of tea bag over the break while the polish or glue is still wet. Ensure it covers the entire broken area and smooth out any wrinkles or bubbles.
Step 3: Securing the Patch
Seal the Patch: Apply another layer of clear nail polish or nail glue over the tea bag material. Ensure the entire piece is covered and adheres well to the nail. Allow it to dry completely.
Step 4: Finishing Touches
Smooth the Surface: Once the patch is dry, gently buff the surface with a nail buffer or file to smooth out any rough edges and blend the patch with your natural nail.
Final Layer: Apply a final layer of clear nail polish over the entire nail for a seamless finish. You can also apply a colored nail polish if you prefer.
Tips and Tricks:
Extra Strength: For additional strength, apply multiple layers of tea bag material, repeating the steps of placing and sealing each layer.
Choose Fine Mesh: Use a tea bag with a fine mesh for better blending with your nail.
Cover the Patch: Use colored nail polish over the patch to hide it completely and match it with the rest of your nails.
These provides a temporary fix that prevents further damage and allows your nail to grow out naturally.
Maintenance and Prevention:
Ensuring the longevity of your repaired nail and preventing future breaks involves mindful maintenance and preventive measures. Here’s a guide to caring for your nails:
1. Handle with Care
Refrain from using your nails for tasks that can exert excessive pressure or strain, such as opening cans or scraping surfaces. Gentle treatment minimizes the risk of accidental breaks.
2. Regular Trimming and Shaping
Maintain your nails at a manageable length by trimming them regularly. Utilize a nail file to shape the edges smoothly, reducing the likelihood of snagging and breakage.
3. Hydration
Keep your nails and cuticles hydrated by applying nourishing nail oil or hand cream frequently. Hydration prevents dryness and brittleness, which can lead to nail breakage.
4. Protective Measures
Wear protective gloves when engaging in household chores or activities involving exposure to water, chemicals, or pressure. This shields your nails from damage and weakening.
5. Nutritional Support
Consider incorporating supplements like biotin or vitamin E into your diet to fortify nail strength and growth. Seek advice from a healthcare professional before initiating any new supplement regimen.
6. Gentle Nail Products
Limit the use of harsh nail polish removers and products containing acetone, as they can strip natural oils from your nails, rendering them more vulnerable to breakage.
7. Balanced Diet
Maintain a well-rounded diet rich in essential nutrients like protein, calcium, and zinc, crucial for nail health. A diverse range of nutrient-packed foods supports the resilience and strength of your nails.
8. Routine Inspection
Regularly inspect your nails for signs of weakness or damage. Address any concerns promptly to prevent exacerbation and minimize the risk of future breaks.
Treat your nails with attentiveness and care to preserve their beauty and strength over time.
FAQ:
Q. How do you fix a broken nail with a tea bag
To fix a broken nail with a tea bag, start by cleaning the nail, cutting a small piece of tea bag material, applying clear nail polish or glue over the break, placing the tea bag material over it, sealing with another layer of polish or glue, and finally, buffing for a seamless finish.
Q. What’s the typical time frame for repairing a broken nail using a tea bag?
Generally, it takes around 15-20 minutes to complete the repair process for a broken nail with a tea bag, including preparation and drying time.
Q. Can any type of tea bag be used for this method?
Yes, you can use any standard tea bag for this method. However, selecting one with a fine mesh is recommended for better blending with your nail.
Q. Will the tea bag patch be noticeable on my nail?
When applied correctly and covered with clear polish or nail glue, the tea bag patch should blend seamlessly with your nail, making it barely noticeable.
Q. How long can I expect the tea bag patch to last on my nail?
The tea bag patch can last for several days to a week, offering a temporary solution until you can provide your nail with more permanent care.
Read Others Post:
Side Effects Of Nail Polish On Nails
Can You Cut Nails with Gel Polish
Take Care Of Long Nails
What Do You Soak For A Manicure
Is Wearing Nail Polish Bad For Nails
10 Manicure Tips For Short Nails
Take Away:
- You’ll need a tea bag, nail glue, small scissors, a nail file, and a top coat polish.
- Cut a small piece from the tea bag to cover the broken area of your nail.
- Place a small amount of nail glue on the broken part of your nail.
- Carefully place the piece of the tea bag over the glued area, ensuring it completely covers the break.
- Press the tea bag into the glue and allow it to dry. Once it’s dry, gently file the surface to smooth out any rough edges.
- Apply a top coat to seal the repair and add strength. You can also add a layer of your favorite nail polish for a polished finish.
- So, the next time you face a broken nail emergency, reach for a tea bag and some nail glue. With a little patience and these simple steps, your nails will be back to looking flawless in no time!
Join Our Community:
- Subscribe to Our Newsletter: Get the latest beauty hacks and nail care tips delivered directly to you.
- Follow Us on Pinterest: Explore a wealth of beauty inspiration, DIY tutorials, and creative ideas to keep you looking your best.


