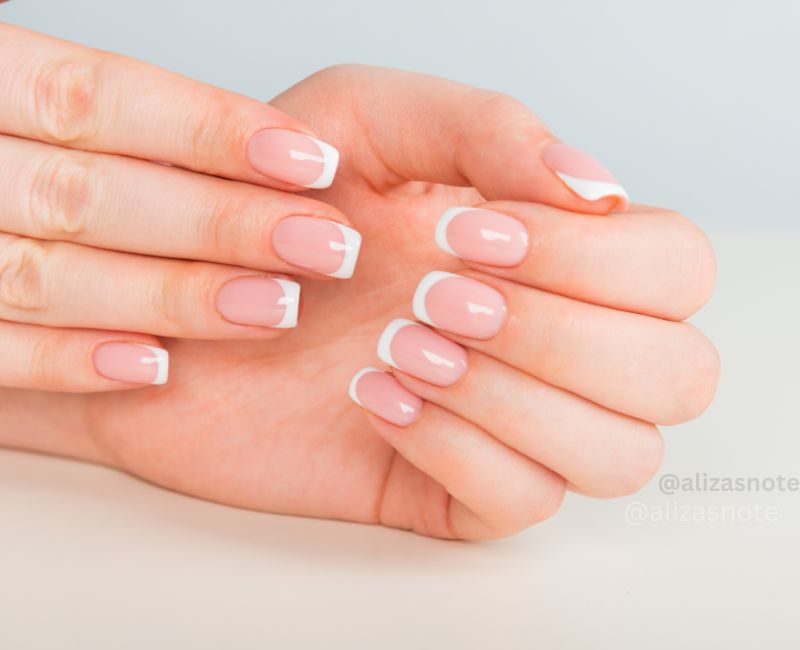
How To Do Gel Nail Extensions At Home
If you’ve ever admired beautifully long nails but felt unsure about constantly visiting the salon, you’re in good company.
The idea of doing gel nail extensions at home can feel a bit overwhelming at first, but it’s a skill anyone can pick up with a bit of patience.
This isn’t about getting it perfect every time—it’s about giving yourself the space to create something just for you. In this gentle guide, we’ll go through how to do gel nail extensions at home, from gathering your tools to applying your extensions, so you can move at your own pace.
How To Do Gel Nail Extensions At Home:
If you’ve ever admired long, beautiful nails but felt uncertain about constantly visiting the salon, doing gel nail extensions at home can be a great solution. While it might seem a bit daunting at first, it’s completely possible to learn and do yourself, with a little patience and the right tools. Here’s a step-by-step guide, how to do gel nail extensions at home.
1. Gather What You Need
Before you start, guarantee you have all of the fundamental contraptions and things:
- Nail record and cushion: To shape your nails and smooth the surface.
- Fingernail skin pusher: To push back your fingernail skin delicately
- Gel tips or forms: These will help create the length of the extensions.
- Base coat and top coat: Essential to start and finish your extensions.
- Gel builder: The thick gel used to build the nail extensions.
- UV/LED lamp: This fixes (solidifies) the gel.
- Alcohol wipes: For cleaning off the sticky layer after curing.
- Cuticle oil (optional): A nice touch to nourish your cuticles afterward.
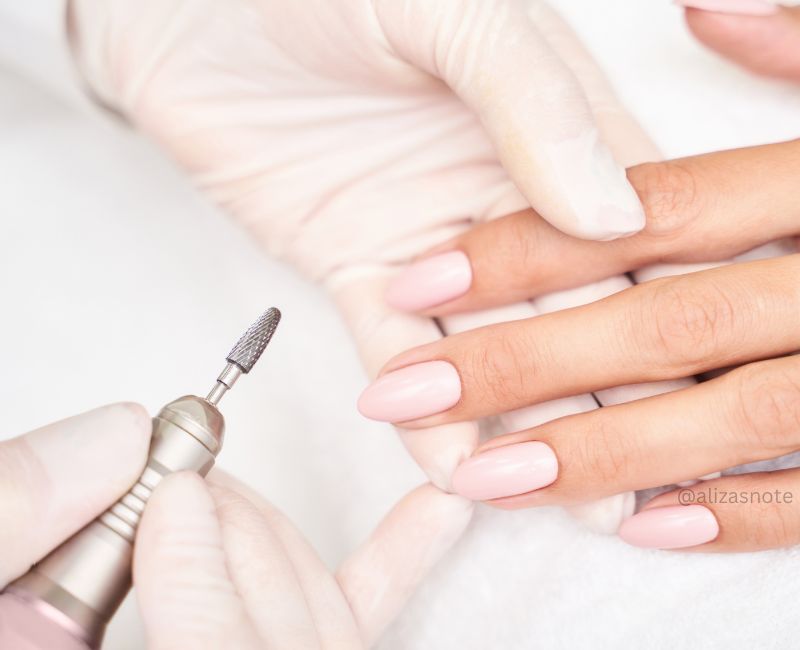
2. Prepare Your Nails
Taking the time to prep your nails properly is one of the most important steps, ensuring the gel sticks well and lasts longer:
- Wash and clean your hands: Start with clean nails, free of oils or dirt.
- Trim and file your nails: Trim them short and file them into a neat shape.
- Push back your cuticles: Gently push your cuticles back with a cuticle pusher. This helps make room for the gel without it sticking to the skin.
- Buff the nail surface: Lightly buff your nails to remove the shine. This helps the gel adhere better.
3. Apply the Base Coat
Once your nails are prepped:
- Apply a thin base coat: Be sure to cover the entire nail, avoiding the skin around it.
- Cure under the lamp: Put your nails under the UV/LED lamp for 30-60 seconds, depending on your lamp’s instructions.
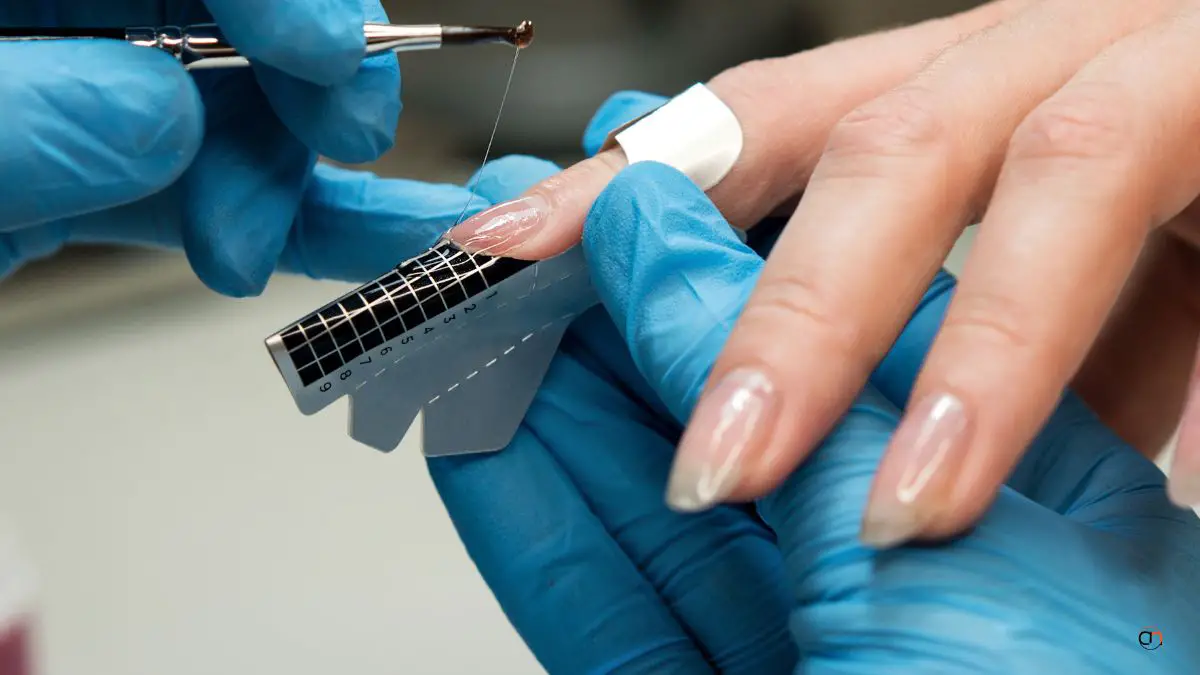
4. Decide How to Extend Your Nails
You have two main options for creating the extension:
- Gel Tips: Pre-made tips that you glue to the ends of your nails to add length.
- Nail Forms: Forms that go under your nails, letting you build length with the gel itself.
Using Tips
- Glue the tips to the ends of your natural nails.
- Trim them to the length you want.
- File them to blend smoothly with your natural nails.
Using forms
- Place the form under your nail, making sure it fits snugly with no gaps.
- This will serve as the base for building your gel extensions.
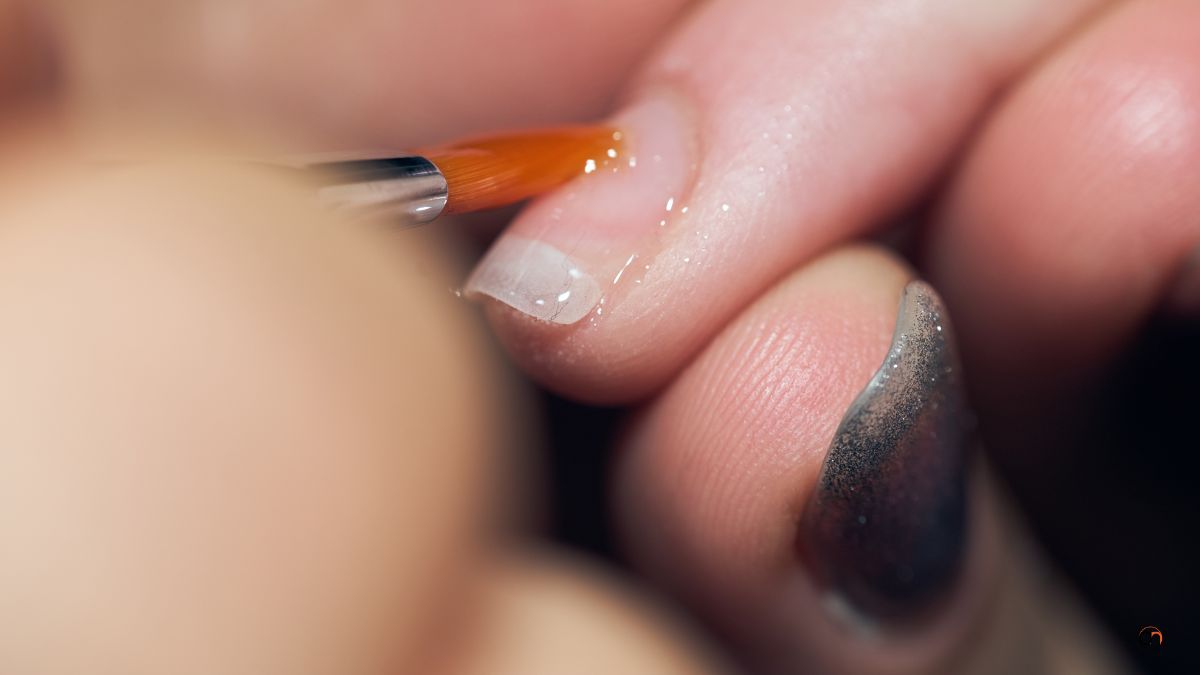
5. Build the Gel Extension
Now for the fun part—building your nails!
- Apply the gel builder: Using a brush, apply a small amount of gel builder over the tip or form. Spread it evenly over your nail, extending it to the length you want.
- Shape the gel: Carefully smooth the gel with your brush, keeping it even and thin.
- Cure under the lamp: of applying the gel for 60-90 seconds.
Repeat this step for 2-3 layers, depending on how thick you want your nails.
6. Shape and Smooth Your Nails
Once the gel is fully cured, it’s time to refine the shape:
- Remove the forms (if used): Gently peel the forms from under your nails.
- File and shape: Use your nail file to get the exact shape you want, whether it’s square, oval, or another style.
- Buff the surface: Buff the nails to streamline any knocks or lopsided spots.
7. Seal with a Top Coat
Now that your extensions are shaped:
- Apply a top coat: Add a thin layer of top coat to seal the extension and give it a glossy finish.
- Cure under the lamp: Cure again under the UV/Drove light for 30-60 seconds.
- Clean off the tacky layer: After curing, use an alcohol wipe to remove the sticky residue, leaving your nails shiny and smooth.
8. Aftercare: Nourish Your Nails
Once your extensions are done, a little aftercare will keep your nails and skin happy:
- Apply cuticle oil: Gently back rub fingernail skin oil around your nails to keep your skin delicate and saturated.
- Moisturize your hands: Finish by moisturizing your hands, since the process can leave them a bit dry.
9. Troubleshooting Common Issues
- Lifting or peeling: If your nails start to lift, it might be due to oil or uneven application. Continuously ensure your nails are perfect and sans oil prior to applying the gel.
- Bubbles: Bubbles in the gel are often caused by using too much product at once. Apply in thin layers to avoid this.
- Chipping: If you notice chips, you can gently buff the area, add more gel, and cure it again.
Read Next: What Causes Fingernails To Split Down
10. Celebrate Your New Nails!
Congratulations! You’ve just completed your own gel nail extensions, and with practice, it will only get easier. Enjoy the freedom of having beautiful, long nails that you created yourself, right at home. Take your time, experiment with different lengths and styles, and most importantly, have fun!
Aftercare Tips:
Caring for your gel nail extensions is simple and helps them last longer while keeping your nails healthy. Here are a few gentle tips to keep in mind:
Moisturize Daily: Massage a little cuticle oil into your nails each day to keep your cuticles soft, and use hand cream to prevent dryness.
Protect Your Nails: When doing tasks like washing dishes or cleaning, wear gloves to shield your nails from water and harsh chemicals.
Be Kind to Your Nails: Try not to use your nails to open things or pry at objects. This helps avoid cracks or chips.
File, Don’t Pick: If a nail gets chipped, gently file it instead of picking or peeling at the gel, which can damage your natural nails.
Plan for Refills: Gel extensions will grow out with your nails, so plan to touch them up or redo them every 2-3 weeks to keep them looking fresh.
By taking these small steps, you’ll keep your gel extensions looking beautiful and your nails healthy!
Troubleshooting Common Issues:
Here’s how to handle some of the common challenges you might face with gel nail extensions:
Lifting or Peeling: If your nails start to lift, it’s likely because they weren’t prepped properly. Make sure they’re clean and oil-free before applying the gel. If lifting happens, gently file the edges, apply a small bit of gel to the area, and cure it again.
Bubbles in the Gel: Bubbles can form if the gel is applied too thickly. To avoid this, apply thin, even layers and smooth them out with the brush before curing.
Chipping or Cracking: If you notice chips or cracks, lightly buff the area, add more gel to fill in the spot, and cure again. A top coat can also help reinforce weak areas.
Uneven Shape: If the nails feel bumpy or uneven, just buff the surface to smooth it out. You can also add a thin layer of top coat to give them a polished finish.
These quick fixes will help keep your nails looking great, and with a little practice, these issues become easier to handle!
Last Call:
- Learning how to do gel nail extensions at home might take a little practice, but it’s a fun and rewarding way to get gorgeous nails whenever you want.
- With the right devices and a touch of persistence, you’ll have the option to make delightful, dependable nails all alone. Don’t worry about being perfect—just enjoy the process and improve as you go.
- For more ideas, tips, and inspiration, come join us on Pinterest! We’d very much want to see what you make and help you en route.
FAQs:
Q. what do i need to do gel nail extensions at home?
To do gel nail extensions at home, you’ll need a gel builder, base and top coats, gel tips or forms, a UV/LED lamp, a nail file, buffer, cuticle pusher, and alcohol wipes to prep and clean your nails.
Q. what do you need for gel nail extensions
Gel nail extensions usually last around 2-3 weeks with proper care before you’ll need a refill or touch-up.
Q. Can beginners do gel nail extensions?
Q. Yes! Even if you’re new to it, you can do gel extensions at home with a little practice. Take your time, follow the steps carefully, and you’ll get the hang of it.
Q. What do you need for gel nail extensions?
You’ll require a gel manufacturer, nail tips or structures, base and top covers, an UV/Drove light, a nail document, cushion, and a fingernail skin pusher to finish the interaction.
Q. How do I remove gel nail extensions?
To remove them, soak your nails in acetone for about 10-15 minutes. Once the gel softens, gently file or scrape it off, being careful not to damage your natural nails.