How To Do a Pedicure Like A Professional
Are you tired of settling for mediocre pedicures at the salon? It’s time to elevate your at-home pampering routine and learn how to do a pedicure like a professional on your own terms.
From softening rough skin to shaping nails and applying polish with precision, we’ll walk you through each step of the process, empowering you to take control of your pedicure experience.
So, set aside some me-time, gather your favorite pedicure supplies, and get ready to indulge in a spa-like experience from the comfort of your own home. It’s time to transform your pedicure routine and step into a world of professional-quality results!
How To Do a Pedicure Like A Professional:
Transforming your feet into salon-worthy masterpieces from the comfort of your own home is simpler than you might think. Follow this comprehensive step-by-step guide:
Step 1: Gather Your Supplies
Before diving in, ensure you have all the necessary tools and products at hand:
- Nail polish remover
- Cotton pads
- Nail clippers
- Nail file
- Cuticle pusher
- Foot soak or bath
- Pumice stone or foot file
- Foot scrub
- Moisturizing lotion or cream
- Cuticle oil
- Base coat, nail polish, and top coat
- Toe separators
- Towel
Step 2: Prep Your Feet
Remove Old Polish: Begin by wiping away any existing polish from your toenails using nail polish remover and cotton pads.
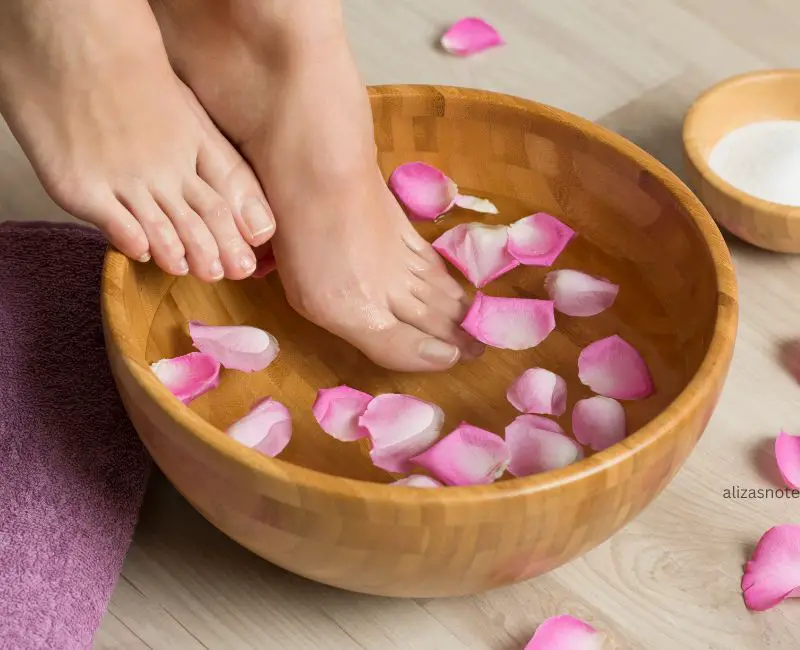
Soak Your Feet: Fill a basin with warm water and a foot soak or bath solution. Soak your feet for 10-15 minutes to soften the skin and nails.
Step 3: Trim and Shape Your Nails
Trim Nails: Use nail clippers to trim your nails to your desired length, cutting straight across to prevent ingrown toenails.
File Nails: Shape your nails with a nail file, gently filing in one direction to avoid rough edges.
Step 4: Address Calluses and Rough Skin
Exfoliate: Apply a foot scrub to damp feet, focusing on rough areas like heels and the balls of your feet. Use a pumice stone or foot file to gently exfoliate and remove dead skin.
Step 5: Attend to Your Cuticles
Push Back Cuticles: Utilize a cuticle pusher to gently push back your cuticles, avoiding cutting to prevent infection.
Moisturize Cuticles: Massage cuticle oil into your nail beds to provide hydration and nourishment.
Step 6: Hydrate Your Feet
Apply Moisturizer: Massage a generous amount of moisturizing lotion or cream onto your feet and lower legs to maintain soft and hydrated skin.
Step 7: Nail Polish Application
Apply Base Coat: Start by applying a thin layer of base coat to each toenail to enhance adhesion and prevent staining.
Paint Your Nails: Once the base coat is dry, apply your chosen nail polish color in thin, even layers. Begin with a stripe down the middle of the nail and then fill in the sides. Use toe separators to prevent smudging.
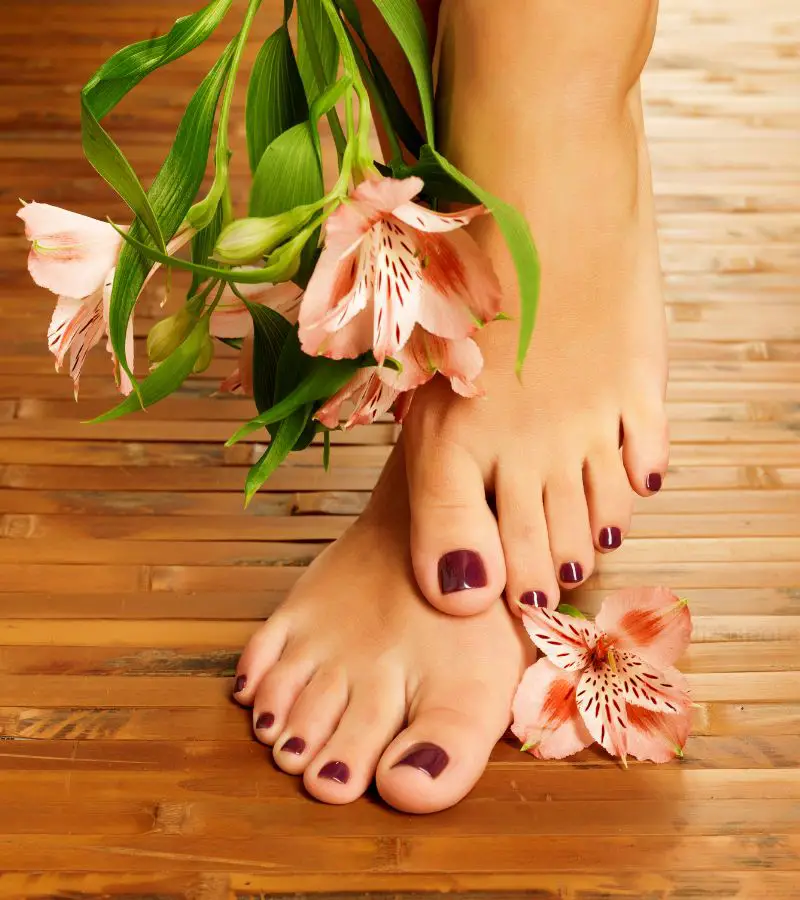
Finish with Top Coat: Once the polish has dried, apply a top coat to seal in the color and provide a glossy finish.
Step 8: Final Touches
Clean Up: Use a cotton swab dipped in nail polish remover to tidy up any polish that may have strayed onto your skin.
Relax and Let Dry: Sit back, relax, and allow your nails to fully dry before slipping into shoes or socks.
Professional Tips and Techniques:
Elevate your pedicure game with these expert tips and techniques that bring the salon experience to your home:
1. Nail Perfection
- Precision Nail Shaping: File nails in a single direction for smooth edges and reduced breakage.
- Cuticle Care: Safely push back cuticles to maintain nail health without risk of infection.
- Polish Application Mastery: Apply polish in thin, even coats, starting from the middle for optimal coverage.
2. Long-Lasting Results
- Base Coat Protection: Shield nails from staining and ensure lasting color adhesion with a quality base coat.
- Top Coat Brilliance: Seal in color and add a glossy finish with a top coat to extend your pedicure’s lifespan.
- Smart Soaking: Opt for lukewarm water to prevent premature chipping or lifting of polish during soaking.
3. Quick Fixes
- Smudge Solutions: Keep a cleanup brush or cotton swab with nail polish remover handy to fix any smudges or errors.
- Speedy Drying: Hasten drying time with quick-dry drops or a brief dip in cold water for a flawless finish.
4. Maintenance Tips
- Regular Moisturizing: Maintain soft, hydrated feet between pedicures by moisturizing daily, paying extra attention to rough spots.
- Footwear Savvy: Protect your freshly painted nails by wearing socks or open-toed shoes to avoid accidental smudging or chipping.
5. Enhance Relaxation
- Massage Magic: Incorporate massage techniques to relax muscles, improve circulation, and enhance overall relaxation.
- Aromatic Ambiance: Infuse your foot soak with essential oils for an added touch of luxury and relaxation.
Common FAQs:
Q. how to give yourself a pedicure like a professional?
Start by gathering your tools and products, soak your feet, trim nails, address calluses, care for cuticles, moisturize, and finish with polish application following professional techniques.
Q. What supplies are essential for a DIY pedicure?
You’ll need nail clippers, a nail file, cuticle pusher, foot soak, pumice stone, foot scrub, moisturizer, base coat, nail polish, and top coat for a comprehensive at-home pedicure kit.
Q. How can I extend the lifespan of my pedicure?
Ensure longevity by using quality base and top coats, applying thin polish layers, avoiding prolonged exposure to hot water, maintaining regular moisturizing, and wearing protective footwear.
Q. What should I do if I accidentally smudge my freshly painted nails?
Quickly rectify smudges by using a clean-up brush or cotton swab dipped in nail polish remover. Allow the area to dry completely before reapplying polish for a flawless finish.
Q. How frequently should I schedule DIY pedicures?
It’s recommended to aim for a pedicure every 2-4 weeks to maintain healthy, attractive feet. Adjust the frequency based on individual nail and skin conditions.
Read Others Post:
How To Put Nail Polish
How To Make Nails Look Beautiful
How To Do Manicure At Home
How To Make Fake Nails Without Glue
How To Grow Nails Faster
How Long Do Nails Take To Grow
Take Away:
- From the initial preparation to the final polish application, each stage is essential for achieving flawless results. Remember to invest in quality tools and products, prioritize the health of your nails, and approach each step with care and precision.
- So, gather your supplies, carve out some time for yourself, and revel in the luxury of a professional pedicure experience.
Connect Us:
- Stay updated with daily nail inspirations, behind-the-scenes peeks, and engaging content.
- Join our dynamic Pinterest community to explore a plethora of nail art ideas, manicure inspirations, and DIY tutorials.
- Have questions, feedback, or suggestions? Reach out to us through our contact page.


