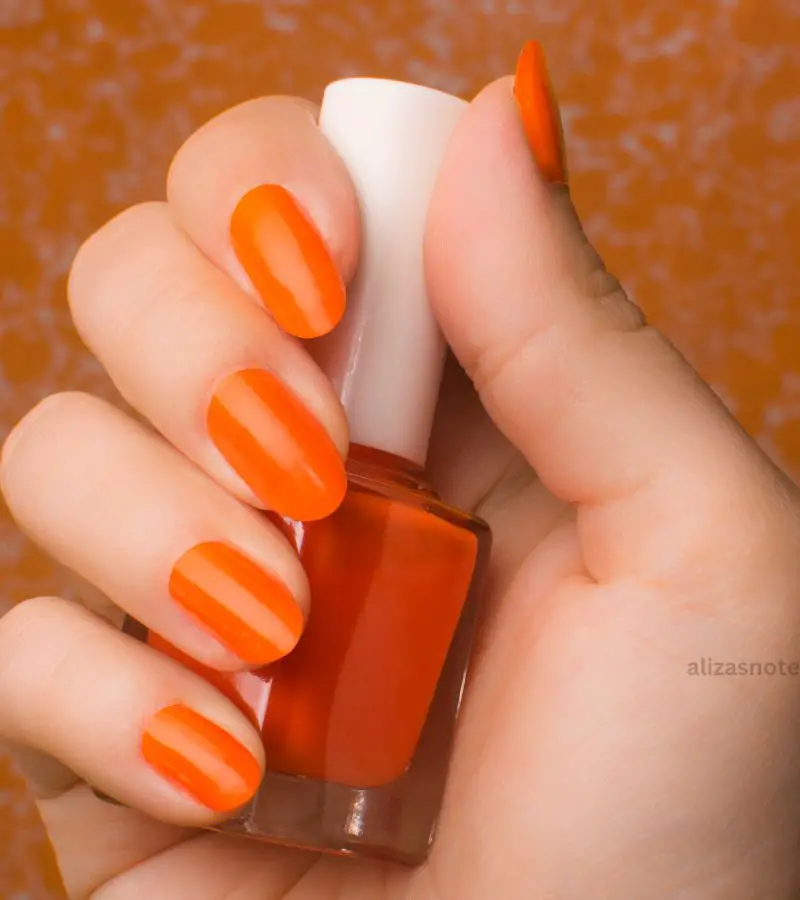
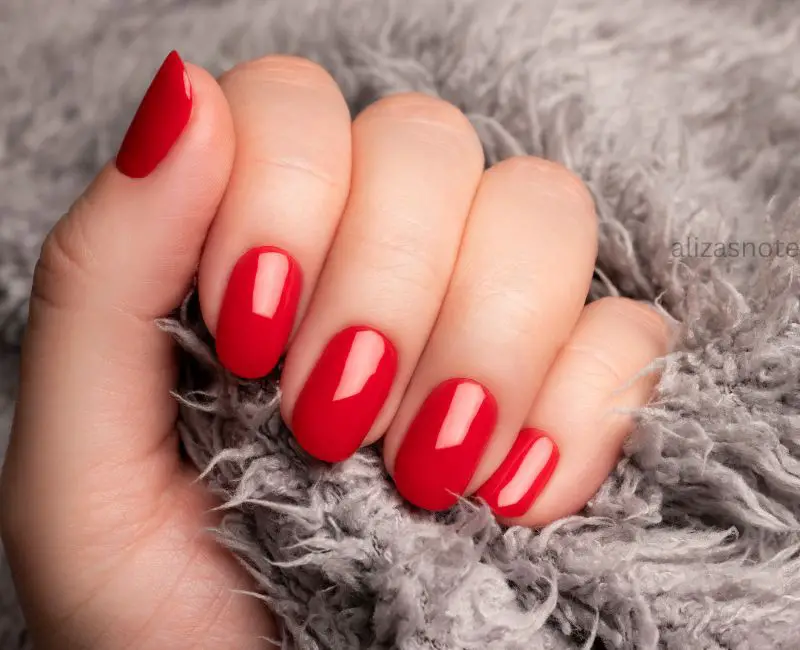
Nail polishing, particularly on smaller nail beds, can often feel like embarking on a journey through a miniature landscape.
If you’ve ever faced the challenge of painting small nails, fret not – we’ve got you covered.
Refine your skills or a newcomer eager to explore the art of precision polishing, join us to know how to put nail polish on small nails.
Selecting the Right Tools and Products:
When it comes to adorning petite nail beds with polish, the key lies in selecting the appropriate tools and products. Here’s a rundown of essentials:
- Nail Polish Consistency
Opt for thinner nail polish formulas, as they offer better control and minimize the risk of clumps or streaks on smaller nails. Look for quick-drying or precision formulas to ensure swift and accurate application.
- Nail Polish Brush
Prioritize nail polishes equipped with smaller brush heads, specifically crafted for precise application on petite nail beds. These brushes facilitate enhanced control and accuracy, resulting in a smoother and more uniform finish.
- Base Coat
Invest in a quality base coat to establish a flawless and uniform surface for the nail polish to adhere to. This foundational layer prevents staining and prolongs the longevity of your manicure.
- Top Coat
Conclude your manicure with a top coat to seal in the color and impart a glossy sheen. Opt for fast-drying formulations to minimize the risk of smudging or smearing.
- Cuticle Pusher
Employ a small, angled cuticle pusher to gently nudge back the cuticles prior to painting your nails. This step ensures a tidy and polished canvas for the polish application, resulting in a professional-grade finish.
- Precision Instruments
Consider integrating precision tools like nail art brushes or dotting tools to execute intricate designs on small nails. These tools provide heightened control and accuracy, simplifying the process of achieving detailed nail art.
- Nail Polish Remover
Keep a compact bottle of nail polish remover and cotton swabs nearby to rectify any errors or smudges during the manicure process. This ensures a clean and refined appearance.
With tools and products use specifically for small nails, you can streamline the manicure process and yield salon-worthy outcomes with ease.
How To Put Nail Polish On Small Nails:

Achieving a flawless manicure on small nails requires attention to detail and a careful approach. Follow these steps for optimal results:
Prep Your Nails: Begin by shaping and buffing your nails to your desired length and shape. Use a gentle nail file to avoid damaging the delicate nail bed.
Cleanse Thoroughly: Wash your hands to remove any dirt, oil, or residue from your nails. Use a nail polish remover to ensure your nails are completely clean and free of old polish.
Apply Base Coat: Brush on a thin layer of base coat to each nail. This not only protects your nails from staining but also creates a smooth canvas for the polish. Allow the base coat to dry completely.
Polish Application: Dip the brush into the nail polish, wiping off excess on the bottle’s rim. Start near the cuticle and gently sweep upwards towards the tip in light, even strokes. Apply multiple thin coats for best results, allowing each layer to dry before adding the next.
Precision Clean-Up: Use a small brush dipped in nail polish remover to tidy up any mistakes or polish that has strayed onto the skin. Take your time to a neat finish.
Seal with Top Coat: Finish with a layer of top coat to lock in the color and add shine. Apply in the same gentle manner as the polish, ensuring even coverage.
Allow to Dry: Patience is key. Let your nails dry completely before engaging in any activities that could smudge the polish. Quick-dry options are available for those eager to speed up the process.
Nail Art Inspiration for Small Nails:
Your nail size shouldn’t limit your creativity. Dive into these inspiring nail art designs tailored perfectly for smaller nail beds:
Simplicity Reigns: Minimalist nail art offers elegance in simplicity. Think geometric shapes, subtle gradients, or delicate lines for a refined touch.
Embracing Negative Space: Negative space designs play with the natural nail color, offering visually intriguing options. Experiment with leaving portions of your nails bare or incorporating negative space accents for a contemporary flair.
Focused Accents: Highlight a single nail with intricate designs while keeping others neutral. This allows for intricate nail art experimentation without overwhelming smaller nail beds.
Petite Florals: Opt for dainty floral patterns to add a whimsical touch. Choose smaller flowers or buds to suit the nail size, and explore various color combinations for a fresh and feminine vibe.
Modern French Tips: Give the classic French manicure a modern twist with thinner, more delicate tips. Play with colored tips or subtle embellishments for a playful update on this timeless style.
Innovative Moons: Incorporate negative space into your half-moon manicures for a contemporary edge. Experiment with shapes and placements to craft unique and eye-catching designs.
Metallic Flair: Elevate your manicure with metallic accents. From small studs to foil details or metallic nail polish, these elements add sophistication and allure to your nail art.
Gradient Magic: Create mesmerizing gradient effects with ombre nail art. Blend complementary colors seamlessly or opt for a soft gradient for an ethereal finish.
Explore your creativity and have fun exploring these nail art techniques. With attention to detail and a dash of imagination, you’ll craft stunning manicures perfectly suited to your petite nails.
Troubleshooting:
Encountering obstacles while painting your small nails? Don’t fret! Here are solutions to common problems:
Streaky Polish: Apply thin, even coats of polish, allowing each layer to dry fully. Opt for high-quality polish and avoid overloading the brush.
Smudges or Smears: Ensure nails are completely dry before applying a top coat. If smudges occur, gently clean up with a brush dipped in nail polish remover.
Uneven Application: Take your time and use light, controlled strokes. Apply additional coats if needed for a smoother finish.
Polish Bubbles: Avoid vigorous shaking of the polish bottle. Instead, gently roll it between your hands to mix without introducing air bubbles.
Nail Polish Stains: Always use a base coat to protect nails. If staining occurs, gently remove color with a cotton ball soaked in nail polish remover.
Chipped Polish: Seal nail edges with polish and apply a top coat every few days to prolong manicure durability.
Difficult Cuticle Reach: Use a small brush dipped in nail polish remover to tidy cuticles. Alternatively, apply petroleum jelly around nails before painting to prevent polish adherence.
Nail Art Errors: Remain calm and use a fine-tipped brush dipped in nail polish remover for corrections. Work methodically and patiently for desired results.
With these strategies, you’ll conquer challenges and achieve stunning manicures on your small nails.
Common FAQ:
Q. How to use magnetic nail polish on short nails?
Apply the magnetic polish as usual, then hold the magnet over each nail for around 10 seconds to create the desired effect. Take your time for precise results, as shorter nails may require a bit more attention to detail.
Q. Can you use nail wraps on short nails?
Yes, nail wraps can work wonders on short nails. Simply trim the wraps to fit your nail length and follow the manufacturer’s instructions for application. They’re a fantastic way to add color and designs to shorter nails.
Q. What Nail Shapes Complement Short Nails Best?
Short nails can pull off various shapes, but rounded or square shapes often suit shorter lengths best. Avoid overly long or sharp shapes, as they might overpower shorter nails.
Q. How Can I Prevent Nail Breakage on Short Nails?
Keep short nails moisturized and regularly trimmed to avoid breakage. Opt for a strengthening base coat to fortify nails, and steer clear of excessive length or sharp corners.
Q. Is Nail Art Still Achievable on Short Nails?
Absolutely! Nail art can be adapted for any nail length. Consider designs that complement shorter nails, such as delicate patterns, negative space techniques, or accent nails, for a chic and stylish look.
Read Others Post:
How To Fix A Broken Nail Without Cutting
How To Fix A Broken Nail Until It Grows
Is Shellac Nail Polish Bad
Treat Nails After Gel
How To Hydrate Nails
How To Remove Nails At Home
Last Call:
- Achieving flawless nail polish application on small nails requires patience, precision, and practice.
- Take your time, apply polish gently, and don’t hesitate to experiment with different techniques and designs.
- With dedication and creativity, your small nails can serve as a perfect canvas for stunning nail art. Embrace the process, unleash your creativity, and let your nails shine!
- Join on Pinterest.


